How to Build a Sled Track for a Commercial Gym
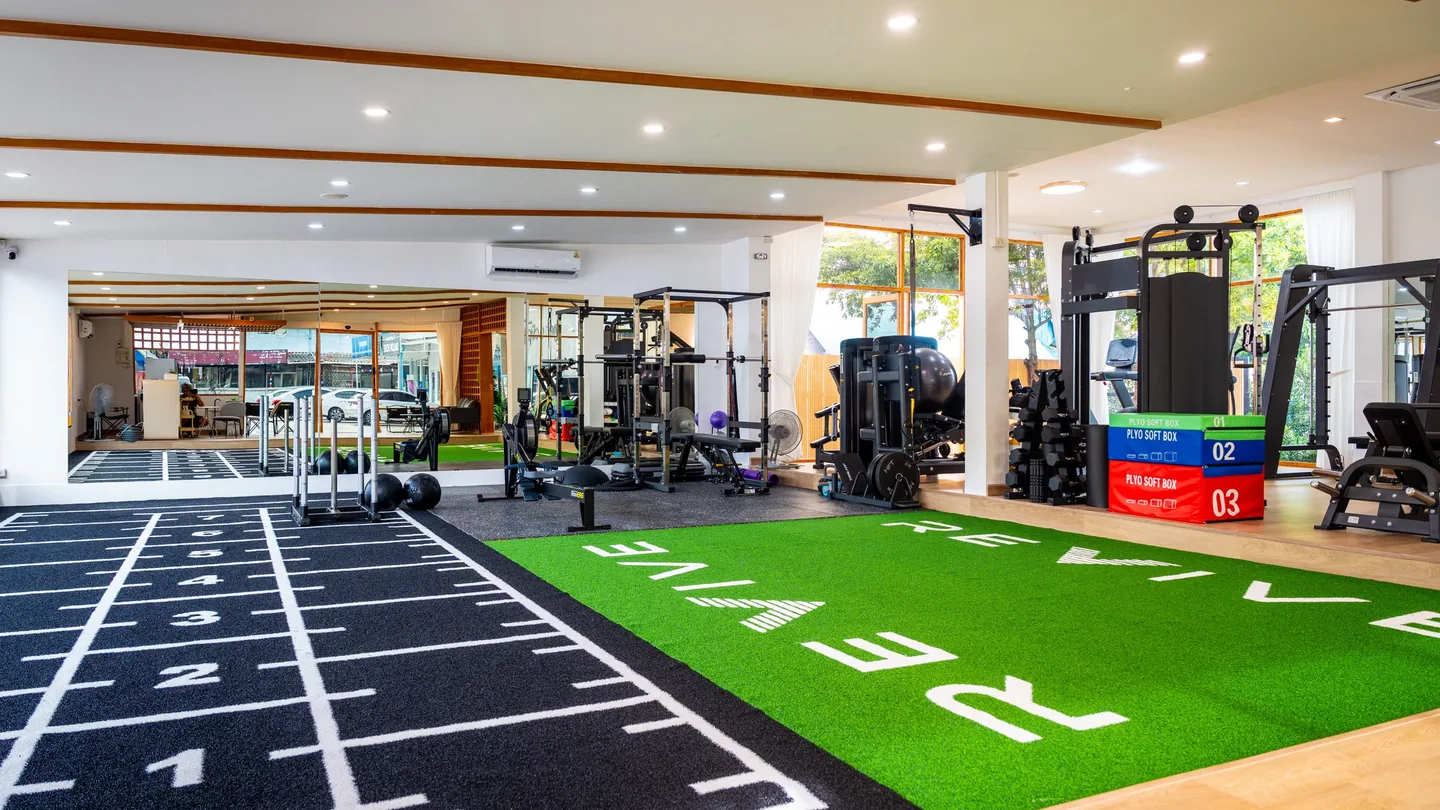
A commercial sled track can become one of the most useful and recognizable areas in a modern gym. It supports sled pushes, sled pulls, sprint drills, loaded carries, lunges, warm-ups and group conditioning—all within one clearly defined training lane.
But a successful sled track is not created by laying artificial grass in an empty corridor. Lane dimensions, turf construction, sled friction, subfloor condition, seams, edges, rubber flooring transitions and equipment storage all affect how the track performs.
Short Answer
To build a commercial gym sled track, first define the training use and class capacity. Then measure the full operating area, select turf using pile, density, backing and sled-friction tests, prepare a clean and level subfloor, secure every seam and edge, create safe transitions to rubber flooring, and plan the sleds, ropes, plates, markings and storage as one system.
1. Decide What the Sled Track Must Do
Start with programming rather than turf color.
A track used for occasional personal training does not need the same layout as a high-frequency group training lane. A fitness race preparation zone may prioritize repeated push-and-pull intervals, while a general commercial gym may need the same surface for warm-ups, carries and mobility work throughout the day.
Define the main use cases:
- daily sled push and pull training;
- functional fitness group classes;
- strength and conditioning sessions;
- fitness race preparation;
- sprint starts or acceleration drills;
- loaded carries and sandbag lunges;
- personal training and member warm-ups;
- gym events or internal challenges.
Next, estimate how many people will use the lane at the same time. One lane can work well for personal training or station-based classes. Two lanes can reduce waiting and allow athletes to work in opposite directions without sharing the same path. Larger performance facilities may need several lanes, but they also need more turning space, equipment storage and coach visibility.
The right question is not “How much turf fits in the room?” It is “How much clear, usable training space can the room safely support?”
2. Measure the Complete Operating Area
The turf rectangle is only one part of the footprint. A usable sled track normally includes:
- the active push-and-pull lane;
- a starting and loading area;
- an end zone for stopping, turning or resetting;
- a rope pull area where the athlete can move safely;
- access to plates, ropes and sled storage;
- circulation space that does not cross the active lane.
Record columns, doors, mirrors, radiators, floor drains, expansion joints and fixed equipment on the floor plan. Also check ceiling features if the lane will be used for carries or overhead warm-ups.
Example length ranges
There is no universal commercial sled-track length. The following ranges are planning examples, not mandatory standards:
| Planning scenario | Example usable lane | Best suited to |
|---|---|---|
| Compact coached zone | Around 10–12 m | Short intervals, personal training and controlled turnarounds |
| General commercial zone | Around 15–20 m | Group conditioning, sled work and multi-purpose training |
| Performance or event-focused zone | 20 m or longer | Higher throughput, longer intervals or multiple marked segments |
A shorter lane can still work if the program uses repeated lengths and controlled turns. A longer lane is not automatically better if it blocks circulation or creates a poor transition into other training areas.
When comparing layouts, include the clear space beyond the turf—not only the printed lane length. Local building, accessibility and emergency-egress requirements must take priority over training convenience.
How to determine lane width
Do not select lane width from a catalog photo. Measure the actual sled at its widest point and consider the athlete’s stance, hand position and lateral movement.
A practical planning formula is:
Clear lane width = maximum sled width + athlete operating clearance + side buffer
If two lanes run side by side, decide whether a visible dividing line is enough or whether the athletes need a wider separation zone. A wall, column or storage rack should never sit where a fatigued athlete may drift during a heavy push.
For a rope pull, confirm that the rope can extend in a straight path without crossing another station. The pull area may require more operational width than the sled itself.
3. Choose Turf as a Sled System, Not a Decorative Finish
General landscaping grass and commercial sled track turf are designed for different priorities. Indoor training turf must tolerate repeated traffic and the concentrated friction created by a loaded sled.
Ask suppliers for a complete specification, including:
- fiber material and yarn construction;
- pile height;
- stitch rate or density;
- total product weight;
- primary and secondary backing;
- roll width and production length;
- recommended installation method;
- available colors and custom markings;
- cleaning and maintenance guidance;
- sample availability for sled testing.
For the UMAX GYMMX sled turf, the standard pile height is 15 mm, with customized pile-height directions available by project. The model uses 100% PE yarn and a PP+SBR backing. Dimensions, pile height and graphics can be customized after the final application, layout and artwork are confirmed.
GYMMX reference specification
| Specification | GYMMX reference |
|---|---|
| Standard pile height | 15 mm; customized pile-height directions supported |
| Material | 100% PE |
| Yarn specification | 5,500 dtex |
| Stated density | 71,400; request the final datasheet for the reporting unit |
| Backing | PP+SBR |
| Standard width | 2 m |
| Custom width | Approximately 1–5 m per piece, subject to project confirmation |
| Production length | Up to 50 m; UMAX normally recommends no more than about 30 m per roll for easier handling and delivery |
| Suggested lane width | 1 m per track as a common starting point; custom widths supported |
| Suitable base directions | Concrete or compatible rubber flooring |
| Fixing method | Adhesive installation, selected for the turf backing and actual subfloor |
| Application | Indoor and outdoor project directions; site conditions must be confirmed |
| Customization | Dimensions, pile height and graphics |
| Documentation | CE-related documentation stated as available for the corresponding model; verify the report and scope before publishing a compliance claim |
The table is a product reference, not a substitute for a project confirmation sheet. Final width, roll division, adhesive, graphics, outdoor exposure and reported test information should be checked against the actual order.
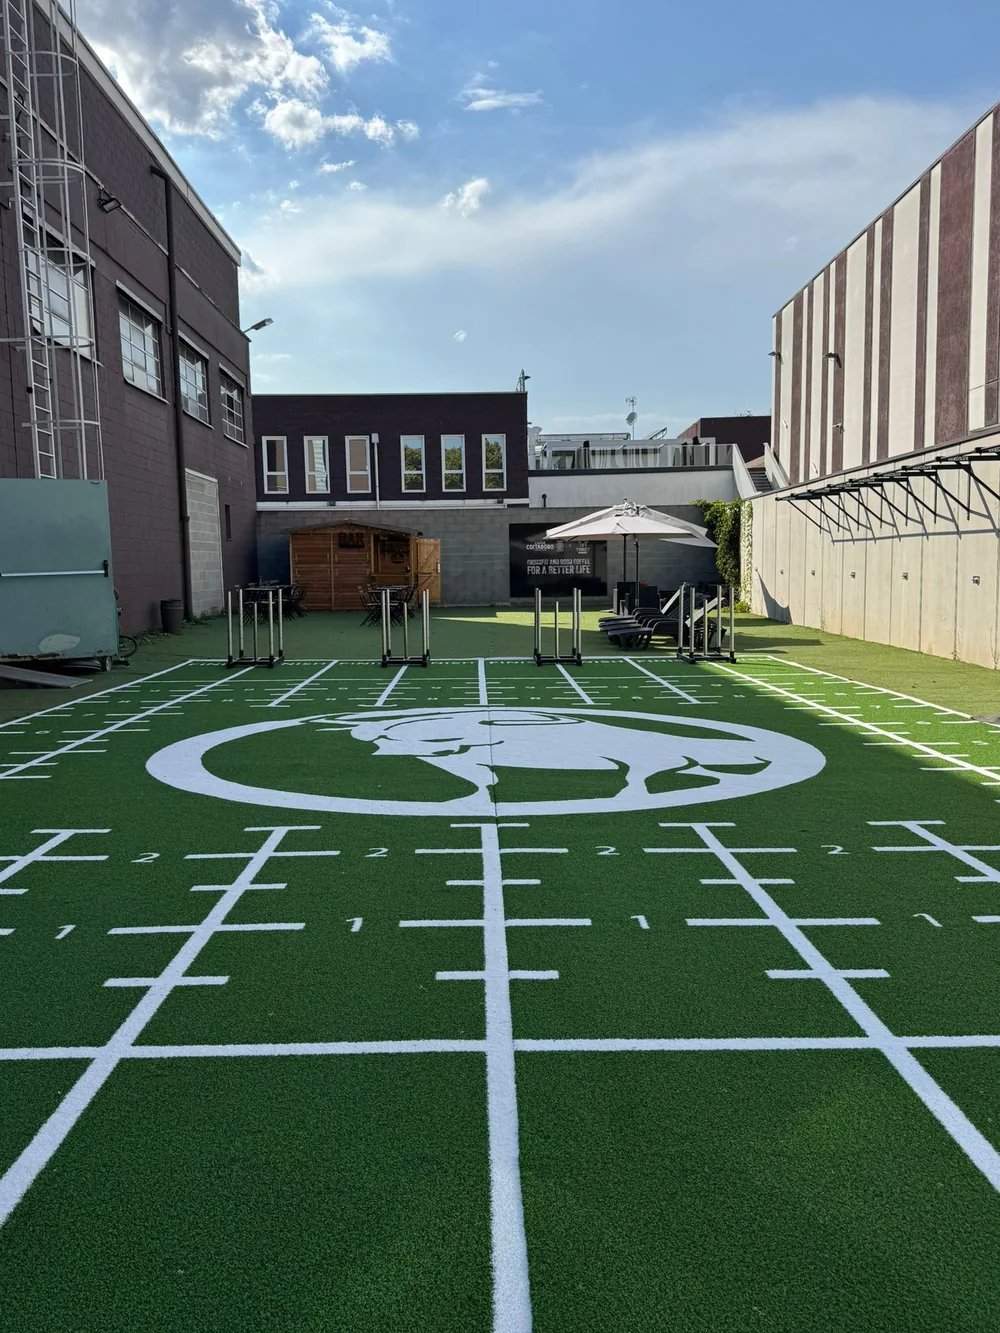
Pile height is only one variable
Buyers often ask whether 15 mm, 20 mm or 25 mm turf is “best” for sled pushing. The answer depends on more than the pile height.
Fiber shape, yarn density, backing stiffness, installation, sled contact surface, plate load and cleaning condition can all change the feel of the track. A taller pile may increase contact or behave differently under repeated compression, but the number on the specification sheet cannot predict the full training experience by itself.
For this reason, test the turf and sled together. For a detailed comparison, see the 15mm vs 20mm vs 25mm gym turf pile-height guide.
A simple pre-order sled test
Use a representative turf sample and the sled or sled-foot material intended for the project. Test:
- the unloaded sled;
- a moderate working load;
- a heavier load used by experienced members;
- pushes in both directions;
- repeated passes after the fibers have been compressed;
- the surface for visible fiber damage or backing movement.
The goal is consistent, controllable resistance. Turf that is extremely easy under one sled may feel very different under another. Likewise, a rough or damaged sled foot can shorten the life of an otherwise suitable surface.
4. Inspect and Prepare the Subfloor
The finished track will only be as stable as the surface below it. Before installation, inspect the subfloor for:
- high and low spots;
- cracks or movement joints;
- dust, oil, adhesive residue or curing compounds;
- moisture;
- loose coatings;
- abrupt changes in level;
- damaged areas near doors or transitions.
Concrete should be appropriately cured, clean, dry and suitable for the selected adhesive. The GYMMX model can be considered for concrete and compatible rubber flooring, but the installer must still confirm moisture, bond strength, surface preparation and adhesive compatibility. Existing rubber, tile or coatings should not be covered automatically without checking the finished system.
Do not hide structural movement joints without professional advice. The installer should confirm how those joints will be treated in the final system.
For new facilities, coordinate the turf specification before the final floor build-up is completed. This makes it easier to align turf and rubber flooring heights instead of correcting a step at the end of the project.
5. Plan Roll Direction, Seams and Edges
Every seam and exposed edge is a potential maintenance point. Good planning reduces the number of weak areas before installation begins.
Roll direction
Confirm the fiber direction on every piece before bonding. Adjacent rolls laid in opposite directions can appear to have different colors under the same lighting and may produce a different sled feel.
Seams
Where possible, avoid placing a seam across the highest-load stopping or turning point. Seams should remain flat, fully secured and aligned with the lane design. If the project requires multiple rolls, show every proposed seam on the production layout before cutting begins.
GYMMX can be produced in lengths up to 50 m, but one very long roll can become difficult to lift, unload and position. UMAX generally recommends keeping an individual roll to about 30 m or less unless the project team has confirmed suitable handling equipment and site access.
Perimeter edges
Exposed edges must resist repeated foot traffic, sled contact and cleaning. Depending on the site, the solution may involve full bonding, recessed installation, mechanical edging or a suitable transition profile. The correct method depends on the subfloor and adjoining surface.
Preventing curl and movement
Loose-laid turf may move, wrinkle or curl under repeated sled loads. Do not assume that the weight of the roll will hold it in place. Confirm the fixing method with the turf supplier, adhesive manufacturer and professional installer.
6. Create a Smooth Transition to Rubber Flooring
Most commercial gyms benefit from combining turf and rubber flooring.
Use turf for:
- sled push and pull lanes;
- marked distances;
- sprint and movement drills;
- carries and lunges where the lane is part of the exercise.
Use commercial rubber flooring for:
- free-weight and plate-loading stations;
- cardio machines;
- sandbag and wall-ball storage;
- strength equipment;
- high-impact or equipment transition zones.
The two surfaces should meet without a trip edge. Compare the complete installed thickness of both systems, including any backing, underlay and adhesive. If the finished heights differ, design the transition before materials arrive.
Avoid placing a vulnerable seam exactly where a sled turns, a plate is repeatedly dropped or a machine is rolled across the floor. A small drawing that shows the turf edge, rubber edge, adhesive and transition profile can prevent expensive improvisation during installation.
7. Add Markings That Improve Training Flow
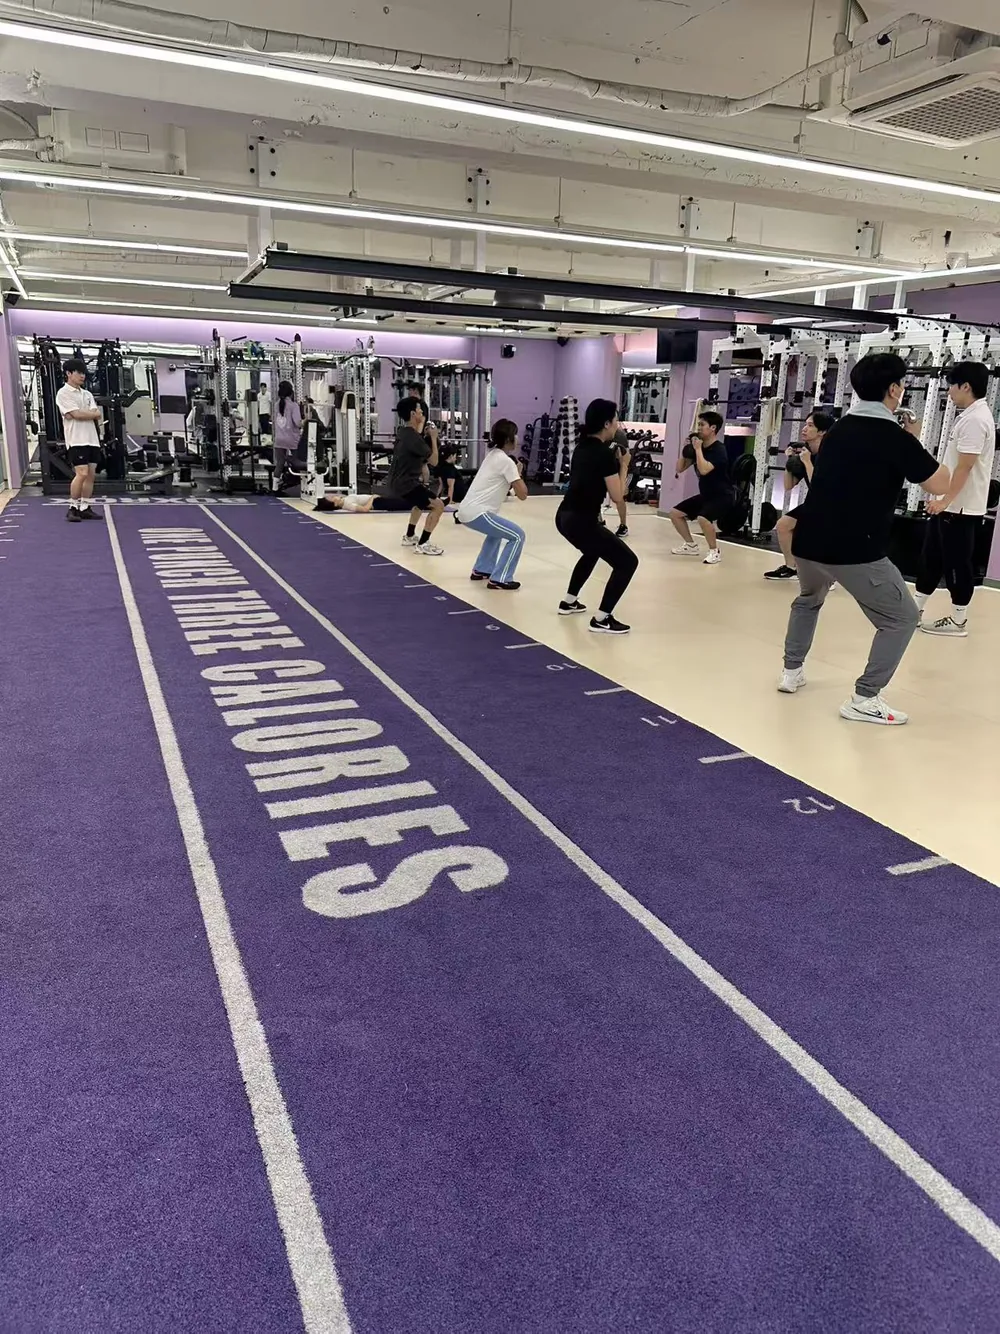
Custom graphics can strengthen the gym’s visual identity, but their first job should be functional.
Useful markings include:
- start and finish lines;
- distance increments;
- lane numbers;
- center or boundary lines;
- direction arrows;
- station identifiers;
- loading or reset zones;
- the gym’s own logo and brand colors.
Check the viewing direction before approving the mockup. A logo that looks correct from the entrance may be upside down to athletes at the start line. Numbers should remain readable under the actual lighting and should not disappear beneath the parked sled.
Use vector AI or SVG artwork whenever possible. Provide Pantone or other accurate color references, exact lane dimensions and a marked floor plan. Confirm that your business owns or is authorized to use all submitted logos and graphics.
For GYMMX projects, UMAX provides design and mockup support before production. A typical sample target is about two days and a typical production target is about seven days after the specification, artwork and order conditions are confirmed. These are indicative project targets rather than guaranteed lead times; confirm the current schedule for the required quantity and delivery date.
8. Match the Equipment to the Track
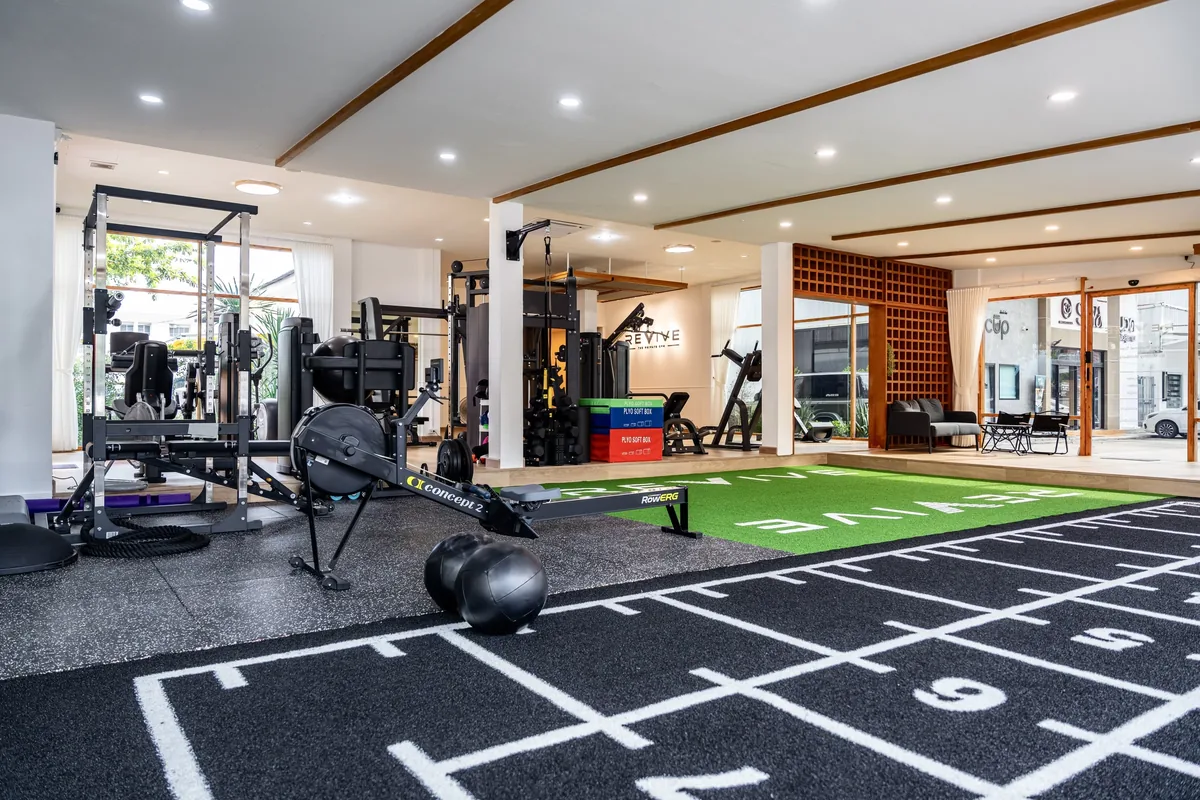
A sled lane needs more than turf. Plan the supporting equipment at the same time:
| Item | What to confirm |
|---|---|
| Push/pull sled | Overall width, two-way operation, handle arrangement and storage footprint |
| Pull rope | Length, attachment point, grip, storage and safe extension path |
| Loading plates | Hole size, available increments, storage and maximum planned working load |
| Cones or markers | Visibility without creating a trip hazard |
| Storage | Position close enough for resets but outside the active lane |
| Cleaning tools | Suitable for turf fibers and accessible to staff |
If one sled will be used for both pushing and pulling, calculate the reset time during a class. Two sleds may improve flow in a busy gym, but only if there is enough clear space to operate and store them.
Inspect the sled contact points regularly. Sharp edges, loose fasteners or embedded debris can damage turf and make resistance inconsistent.
9. Design for Classes, Not Just Individual Use
A lane can look spacious when empty and become congested during a group class. Map the complete session:
- Where do waiting athletes stand?
- Where are plates changed?
- Does the pull rope cross another station?
- Can the coach see both ends of the lane?
- Where is the sled parked after the interval?
- Can other members pass without entering the active zone?
Keep the next station close enough for a smooth transition but outside the sled path. If the lane supports both open-gym use and coached classes, post clear rules for direction, loading and equipment return.
10. Understand the Main Cost Drivers
The total cost is not determined by turf area alone. A useful budget should include:
- turf material and backing specification;
- custom colors, numbers and logo graphics;
- roll layout and number of seams;
- cutting allowance and project waste;
- subfloor repair or preparation;
- adhesive, seam tape and edge profiles;
- professional installation;
- sleds, ropes, plates and storage;
- export packing and international freight;
- destination charges and local delivery where applicable.
For international orders, compare landed project cost rather than only turf price per square meter. Confirm the specification, quantity, packing method, destination and trade term before comparing quotations.
11. What to Send Before Requesting a Quote
A supplier can prepare a more useful layout and quotation when the project brief includes:
- Floor plan: room dimensions, columns, doors and fixed equipment.
- Required lane: length, width and number of lanes.
- Training use: sled push, pull, sprinting, group classes or fitness race preparation.
- Sled information: overall width, base or skid material and intended working loads.
- Traffic level: estimated users, classes per day and operating hours.
- Subfloor: concrete, existing rubber, tile or another finish.
- Design files: vector logo, color references, numbers and preferred viewing direction.
- Installation scope: material supply only or support for a complete installation plan.
- Delivery details: destination country or port and site access restrictions.
- Project schedule: target installation and opening dates.
UMAX can use these details to discuss turf construction, custom graphics, roll layout, packing and complementary functional training equipment.
Common Sled Track Mistakes
- Choosing only by pile height: density, fiber, backing, installation and the sled also affect performance.
- Measuring only the printed lane: allow space for starting, stopping, turning, pulling and storage.
- Ignoring fiber direction: opposite directions can change appearance and sled feel between pieces.
- Turning on an exposed edge: repeated impact on an unsecured edge can cause early failure.
- Planning turf and rubber separately: finished height, transition and traffic flow must work together.
- Approving artwork without a scaled plan: logos and numbers may be poorly sized or positioned in the real room.
Frequently Asked Questions
How long should a commercial gym sled track be?
There is no single required length. Compact coached zones may work with approximately 10–12 m of usable lane, while general commercial and performance facilities often plan longer tracks. Base the final length on programming, turns, class capacity and available circulation space.
How wide should a sled lane be?
Measure the sled at its widest point, then add sufficient operating clearance for the athlete and side buffers. For multiple lanes, include separation and confirm local safety and accessibility requirements.
What pile height is best for sled push turf?
The best option depends on fiber, density, backing, installation, sled construction, load and desired resistance. Test a representative sample with the intended sled rather than selecting by pile height alone.
Should gym turf be glued down?
Repeated sled loads can move or wrinkle an unsecured surface. The correct fixing method depends on the turf backing and subfloor. Confirm it with the supplier, adhesive manufacturer and professional installer instead of assuming loose laying is suitable.
Can I add a logo and distance markings?
Yes. UMAX supports custom dimensions, colors, lane markings, numbers and gym-owned logo graphics. Supply a scaled floor plan, vector artwork, color references and viewing direction for the mockup.
Can turf, rubber flooring and sled equipment be planned together?
Yes. Coordinating them as one project helps align finished floor heights, lane width, sled compatibility, storage, packing and delivery requirements.
Plan the Track Before Ordering the Turf
A commercial sled track performs best when the room, surface and equipment are treated as one system. Start with the training use and traffic flow. Measure the operating area, not only the turf rectangle. Test the turf with the intended sled, prepare the subfloor correctly and protect every seam, edge and transition.
UMAX Sports supplies custom gym turf, commercial rubber flooring and selected functional training equipment for international B2B projects. The GYMMX reference configuration uses 15 mm 100% PE turf with PP+SBR backing, a standard 2 m width, customized widths from approximately 1–5 m per piece, and custom dimensions, pile-height directions and graphics subject to project confirmation.
Ready to plan your track? Send your floor plan, sled information, destination and target opening date for a turf layout mockup and project quotation.
Get a Turf Layout & Quote